Ok goop wash time!
I've done this a couple of times before, but always kept the end result quite tidy. This time I want to go as dirty as I can push myself... It's a mental thing (fear of ruining the thing I guess), and I'm not sure if I'll get to level of layered gunky dirt that guys like
Klav often get to, but damn it, I'm going to try.
So the goop wash, different people do it in different ways, but here as some process shots and an explanation of how I do it.
Wat you need is:
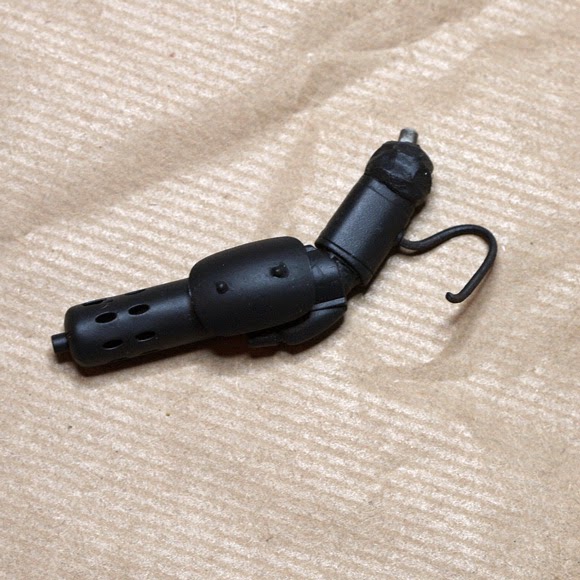
The model
Oil paints (this first of many layers will be a mix of lamp black and burnt umber)
Odorless Terpenoid (not really odorless)
Cotton buds (lot's of them)
Kitchen roll.
Big brush for application
And a good beer... I'm using an Punk IPA by Brew Dog. Red wine has been also recommended, but I prefer beer for this.
So you mix the paints and the terpenoid and slather it all over the model (make sure a good coat of varnish is applied and dry to protect pains and decals). I'm doing the Kuster first and do the engine/legs and the turret separately. It's just easier, less chance of breaking stuff off... which is a constant threat for me.
With the model covered in goop, sit back and enjoy a sip of your beer.
And another one.
Wait for about 10 to 15 minutes give the paint a chance to get a bit of a grip on the model.
Then take your cotton buds and start cleaning all the excess gunk off again.
This takes a while. If the paint dries in to far you could wet the buds with terpenoid, but be careful you don't want to clean it all off.
The half way mark look like this...
And below is the point I decided to call it 'clean' enough... or dirty enough.
It's not really very visible on these picture so I put the still Friedrich next to the Kuster for comparison.
Like I said this will be the first of many layers. The legs and lower body will get more dirty than the top of the turret but I'll do at least one more all over wash. A greenish one.
Anyway that's it for now.
Thanks for looking.
Cheers,
Martijn