After looking at this thing for a while I realized, I needed to soalve the problem of the model twisting on the base...
I got a tip on one of the forums I frequent about using square tube to attach the model to the base (feeling stupid for not thinking of that myself)... I decided to double back a little bit and ready some of the base.
I ripped out most of the polystyrene sheets and put in a square bit of styrene tube. I found some metal bar (i think it's pyrite) that fits it perfectly. I attached the tube into the base exactly like I had done with the round tube (using poly clay and plaster)..

In building up the further layers of polystyrene I glued in bits of plastic card that fit around the tube. So bits of card with square holes in them, glued to the tube with SG and to the polystyrene with wood glue (about the same as white glue I think).
This was done to make sure it wouldn't move under the weight of the model.

The bottom of the Griffon now had a gaping 4mm hole in it... so I made it bigger. Put in a piece of the same square tube that went all the way to the 'ceiling' inside the Griffon. Then I fixed it in place at the hole with SG and green stuff and on the inside by using a thin wooden stick to push a ball of GreenStuff all the way up into the tube and stick it to the ceiling on the inside of the tube... hope that makes sense. Anyway it's in there solid.
I put a little weld seem and some bolts on the tube end sticking out and painted it (also put some greebly on the top of previously failed attempts at fixing the model to the base)...


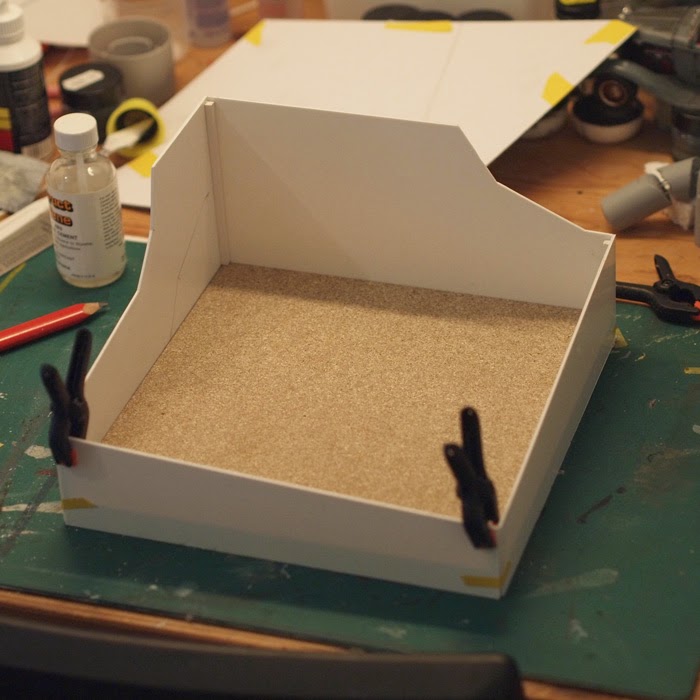
With that done I started putting some filler on the base. I used acrylic filler (which I think is basically thick unpigmented acrylic paint) and mixed it with cat litter.... a total experiment as I had never worked with the stuff.
Well the cat litter absorbed a lot of moisture from the filler quite fast, making it quite difficult to spread out... it also shrank quite a bit as it dried.
So, not really what I expected but really good to know (if I ever want to make a rocky dried up desert base..).
I'll just cake on another layer of the filler mixed with something non-absorbent. Something that will give it a more asphalt structure too.

Then I did a quick dry-fit of the model on the base.. it looks like it just might work.
Thanks for looking, let me know what you think!