Yes hi there... it's been a while. Again. I know, I know.
Been doing a lot of work on the Anti Gravity Chopper scratch build.
The build is pretty much done now and because of the way I've put it together (stupidly) I've also started painting some of the parts.
This will probably be the first post of a couple because it would be nonsense to smash it all into one.
Anyway let's see where we last left it...
Ah yes... Well this has developed. And mainly in the details department.
For instance the cockpit got a little more complete... with steering and oxygen for the pilot. Plus a bunch of other hoses and wiring.
The tail end got some much needed aero dynamic controls like a tail fin and a some wing type things. How would one ever expect this thing to fly otherwise...
I also changed the tail lights because the old ones made it look a little too 'paleo futuristic 50s'. I used some Gundam detailing part for this... Actually various Gundam detailing parts were used quite a lot.
This is where the build started to come together pretty well and I though it time to start painting some of the parts that wouldn't be able to paint after assembly any way... firs the main generator. The MK6 Kaminari AG field generator... (yes I actually thought of a model name for my imaginary machine)...
The more observant of you... might notice the ventilation unit at the tope is different from what is was. Again I didn't like the old one. Too clunky. This one is better.
Also the propulsion jet got a paint job... all these only received minor weathering and washes because I'll do that at a later stage, when it's closer to complete. That way I can keep it more consistent overall.
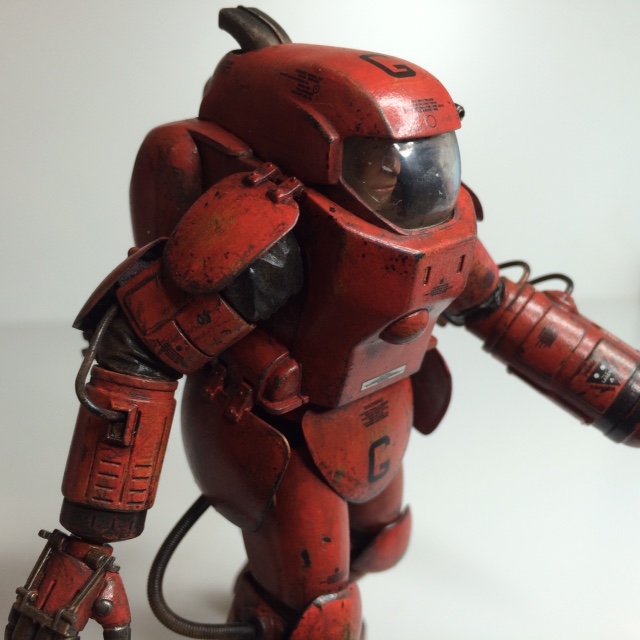
Also the pilot and part of the cockpit got their first layers of paint...
At this stage the whole thing consisted of three separate pieces. The front end the bit that had the seat on it and the tail section. With parts of the cockpit painted I could glue together the seat part and the tail sections. It took a a lot of one-eyed looking to get it all aligned and straight (as was possible) but when glued it was good to now have two parts in stead of three...
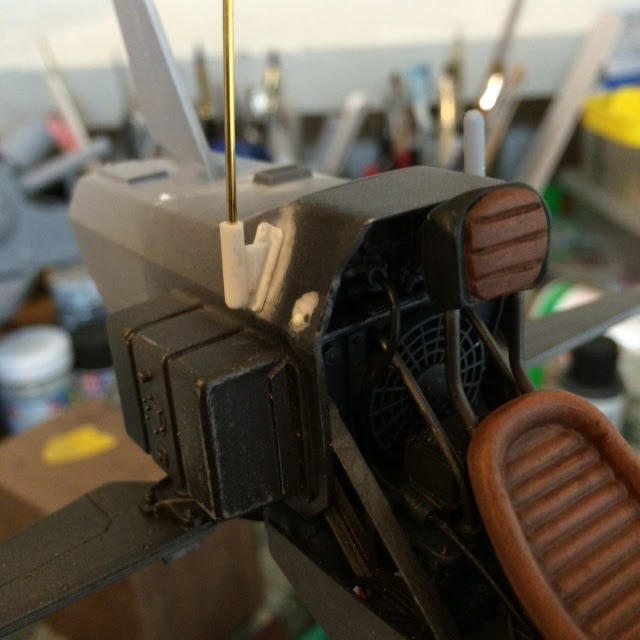
Before I could fix the to parts together there was one detail I needed to change. In the picture above you can see wire coming out of the helmet going into the back of the head rest. I didn't want to fix the pilot to the chair yet, but I noticed I wouldn't be able to get those wires into that little holes after assembly. There simply wouldn't be enough room to maneuver.
So I dreamed up some device I fixed to this seat belt that would have those wires go in and a bigger on come out which goes into the side of the chair under the seat... problem solved without loss of wiring (I love the look of wiring).
Parts were cleared for bonding. And of course I added more details too... a process which seems continuous by this point.
So that's it for this update...
will be continued shortly in part 2...