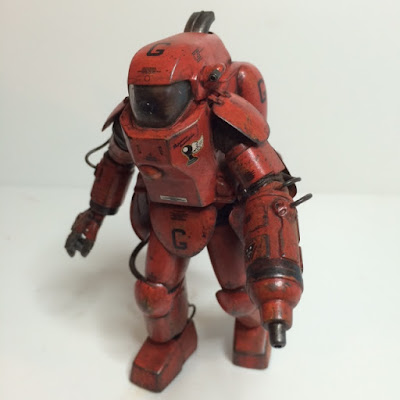
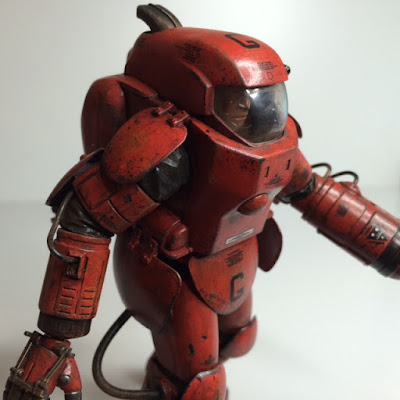
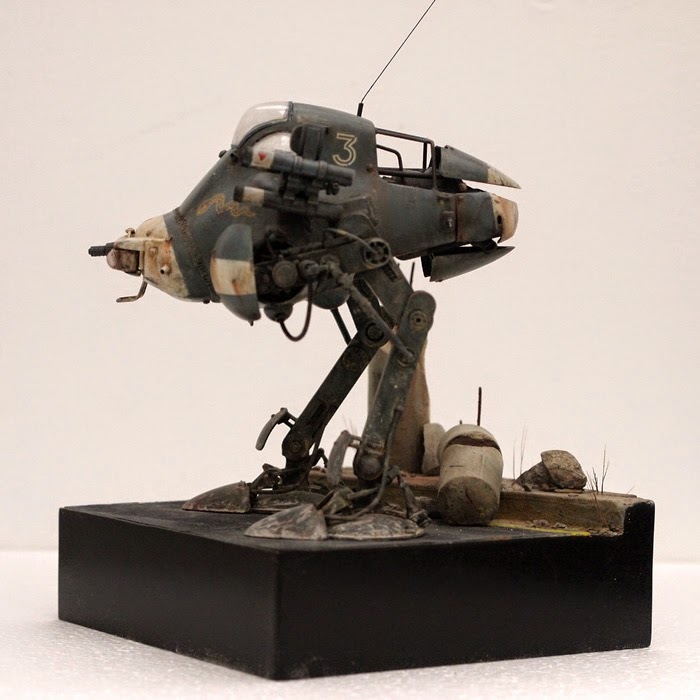
Well that's that.
After a few more oil stains and a dusting of pigments I'm declaring this team finished...
Cheers,
Martijn
Showing posts with label pigments. Show all posts
Showing posts with label pigments. Show all posts
Saturday, 2 April 2016
Tuesday, 5 May 2015
MK44 Prototype Complete
It's done and dusted... with some pigments (ba-dum zing).
I washed this guy with oils.
Added some last minute details (a coiled cord coming off his helmet) and dusted him up with a layer of pigments.
Sorry for not taking your through this one step by step, but the pics should speak for themselves...
Beteer pictures of the finished thing are to follow...
I washed this guy with oils.
Added some last minute details (a coiled cord coming off his helmet) and dusted him up with a layer of pigments.
Sorry for not taking your through this one step by step, but the pics should speak for themselves...
Beteer pictures of the finished thing are to follow...
Friday, 8 August 2014
Super Jerry Base Finished
So well the base for the Super Jerry is done, cutting the WIP a little short, but I was on a roll putting the paint, washes and pigments on the thing that I didn't want to pause to set the thing up for pics...
Anyway. I glued all the concrete debris on with white glue and gave it all a base coat of Tamiya Buff colour after the glue had dried. Also added some little rocks here and there.
Than I gave the cracks in the pavement a quick pin wash using the black ready made wash by Vallejo. Then I added some streaking and washes with a "European Dirt" of the same brand.
Also added some oil streaking particularly the rust effects and when that had dried a mix of light gray and light (very light) moss-green pigments.
After that I glued in the grass which I made from the hairs from an old paint brush (pig's hair I think). I used super glue to glue them into little tufts and then, after giving them a quick hint of drab green, used PVA (white) glue to stick then into the crack and holes in the pavement.
Than put the model on the base using copper rods, which were SG'ed into the feet and then gave the whole thing another treatment with pigments to blend it all together a little...
Hope you like the result.
Cheers!
Subscribe to:
Posts (Atom)


